A complete bathroom renovation is a substantial undertaking that strips the room back to its structural shell and rebuilds it anew. This process offers the ultimate opportunity to correct underlying issues, reconfigure the space for optimal use, and create a sanctuary tailored to your long-term needs. Unlike a cosmetic update, a full renovation demands a methodical approach, where planning and precision are paramount. Success hinges on a clear sequence of technical decisions that ensure the final result is not only beautiful but also structurally sound, watertight, and built to last.
Phase 1: The Strategic Strip-Out and Structural Assessment
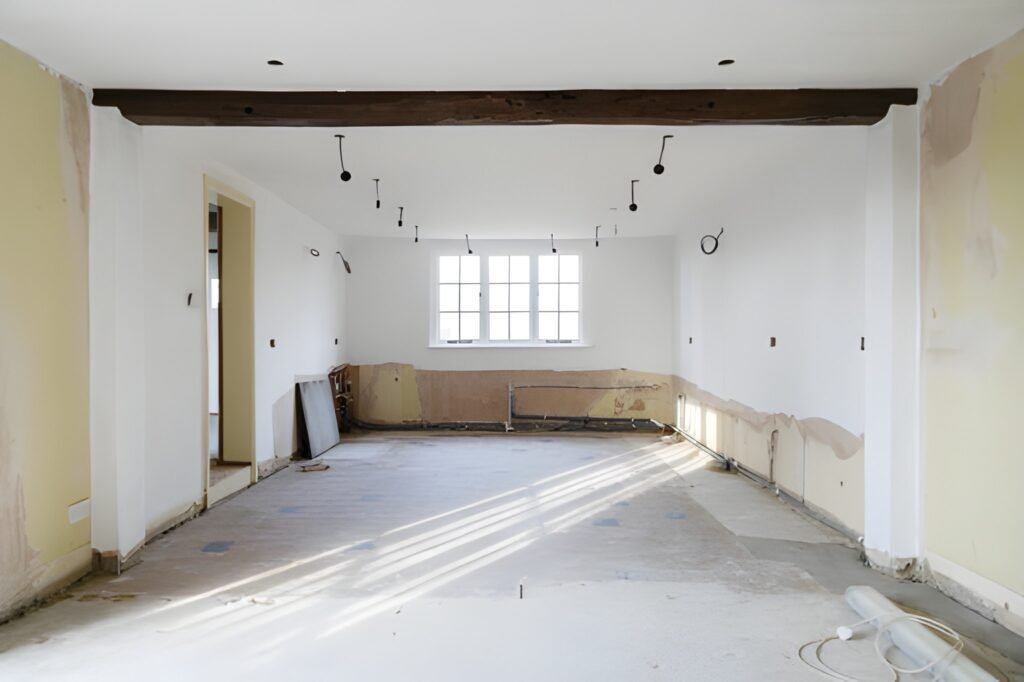
The first step is a comprehensive deconstruction. This involves removing all fixtures, tiles, plasterboard, and flooring to expose the underlying walls, floor, and plumbing. This stage is diagnostic; it reveals the true condition of the space.
- Identifying Hidden Issues: This is when you discover rotten floor joists, inadequate ventilation, outdated and unsafe electrical wiring, or signs of persistent damp. Allocating a contingency of 10-15% of your total budget specifically for these unforeseen issues is critical.
- Assessing the Substrate: The exposed walls and floor must be assessed for stability and flatness. A successful tiling job requires a perfectly flat substrate. This often involves installing new cement backer boards in wet areas instead of standard plasterboard, as they are completely waterproof and provide a stable base for tile adhesion.
Phase 2: The Core Systems Overhaul
With the room stripped bare, the focus shifts to the essential, unseen systems that form the functional backbone of the bathroom. Investing here prevents costly failures later.
- Plumbing and Drainage: This is the time to make layout changes. Moving the toilet, shower, or sink requires rerouting soil pipes and waste lines, a job for a qualified professional. All new pipework should be pressure-tested before it is concealed. Upgrading to modern, plastic plumbing with accessible isolation valves is a significant improvement over old, corroded systems.
- Electrical Systems: A full rewire is often necessary and advisable. It allows for the safe installation of:
- A powerful, externally-vented extractor fan.
- A dedicated circuit for an electric underfloor heating system.
- IP-rated (Ingress Protection) lighting and sockets, placed at a safe distance from water sources.
- Power for heated towel rails and smart mirrors.
- Waterproofing (Tanking): This is the single most important step for preventing water damage. The entire wet area—the shower zone, around the bath, and any other splash-prone areas—must be coated with a liquid waterproofing membrane. This creates a fully watertight tank, directing all water towards the drain. This is a specialist task, and its proper execution is non-negotiable.
Phase 3: The First Fix Installation
With the core systems in place, the “first fix” stage begins. This involves installing all the elements that will be enclosed within the walls and floor.
- Installing the shower tray and bath, ensuring they are perfectly level.
- Running new plumbing and waste pipes to the final locations of all fixtures.
- Chasing walls to conceal new pipework and electrical cables.
- Laying the electric underfloor heating mats and connecting them to the thermostat.
Once these elements are installed and signed off, the walls and ceiling can be sealed up with plasterboard or cement board, ready for tiling.
Phase 4: The Surfaces and Finishes
This phase transforms the construction site into a bathroom. The order of operations is crucial for a quality finish.
- Wall and Floor Tiling: This is a skilled job. The use of a laser level ensures tiles are perfectly straight. For large-format tiles, a strong, flexible tile adhesive and epoxy grout are recommended for their durability and water resistance. The sequence is important: walls are often tiled first, starting from the second row up, with the floor tiles laid afterwards to support them.
- Second Fix Plumbing and Electrical: With the tiling complete, the final fixtures are installed:
- Fitting the toilet, basin, and their taps.
- Mounting the shower valve and head.
- Installing the electrical fixtures: lights, extractor fan grille, and switches.
- Joinery and Sanitaryware: The vanity unit, medicine cabinet, and any other built-in storage are installed. The shower screen or enclosure is fitted last to ensure a perfect seal against the tiled surfaces.
- Siliconing and Final Snagging: A high-quality, mould-resistant silicone sealant is applied to all junctions between different materials (e.g., where tiles meet the bath or basin). A final check is conducted for any minor issues like a dripping tap or a misaligned door.
The Critical Decision Matrix
A successful complete renovation is guided by a series of key decisions made before work begins:
| Decision Point | Standard Option | Enhanced/Optimal Option | Consideration |
|---|---|---|---|
| Layout | Like-for-like replacement | Reconfiguration for better flow | Moving plumbing is the single biggest cost driver. |
| Shower | Basic electric shower | Thermostatic mixer with low-flow head | Superior comfort, safety, and energy efficiency. |
| Ventilation | Basic timed extractor fan | Humidistat-controlled or continuous MEV | Prevents mould proactively; crucial for airtight rooms. |
| Waterproofing | Standard tile-backer board | Professional liquid-applied tanking system | Absolute insurance against leaks and structural damage. |
| Heating | Radiator only | Electric underfloor heating + towel rail | Luxurious comfort and efficient, even heat distribution. |
The Realistic Timeline and Budget
A complete bathroom renovation for a standard 3m x 2m room is not a quick project. A realistic timeline is three to four weeks from strip-out to completion, accounting for drying times for plaster, adhesive, and silicone. Rushing this process compromises quality.
The budget is equally sobering. While costs vary, a mid-range complete renovation with quality materials, professional trades, and a reconfiguration of the layout typically falls between £8,000 and £15,000. This investment, however, pays dividends in daily comfort, long-term durability, and the prevention of future repair costs. It is the creation of a space that is fundamentally sound, effortlessly functional, and designed to serve as a reliable sanctuary for a decade or more.