Embarking on a renovation without a clear plan is a recipe for budget overruns, timeline blowouts, and immense stress. A successful project is not a series of random events, but a disciplined, sequential process where each phase builds logically upon the last. This ten-step roadmap provides a strategic framework to navigate the complexity of a home renovation in the UK, ensuring that decisions are made with clarity, risks are managed, and the final outcome aligns perfectly with your vision and investment.
Step 1: Define Your ‘Why’ and Establish a Realistic Budget
Before you sketch a single idea or speak to a builder, you must define the core objective. Are you renovating to increase the property’s resale value? To create a forever home tailored to your family’s needs? Or to improve energy efficiency and reduce running costs? Your ‘why’ will dictate every decision that follows.
Simultaneously, establish a total budget. This is not a guess. It is a rigorous figure based on your available capital, factoring in a contingency of at least 15-20% for unforeseen issues. This contingency is not a luxury; it is a critical component of a realistic budget. The equation is simple:
Total Budget = (Estimated Project Cost) + (Contingency of 15-20%)All subsequent planning must work within this financial framework.
Step 2: Conduct a Feasibility Study and Initial Research
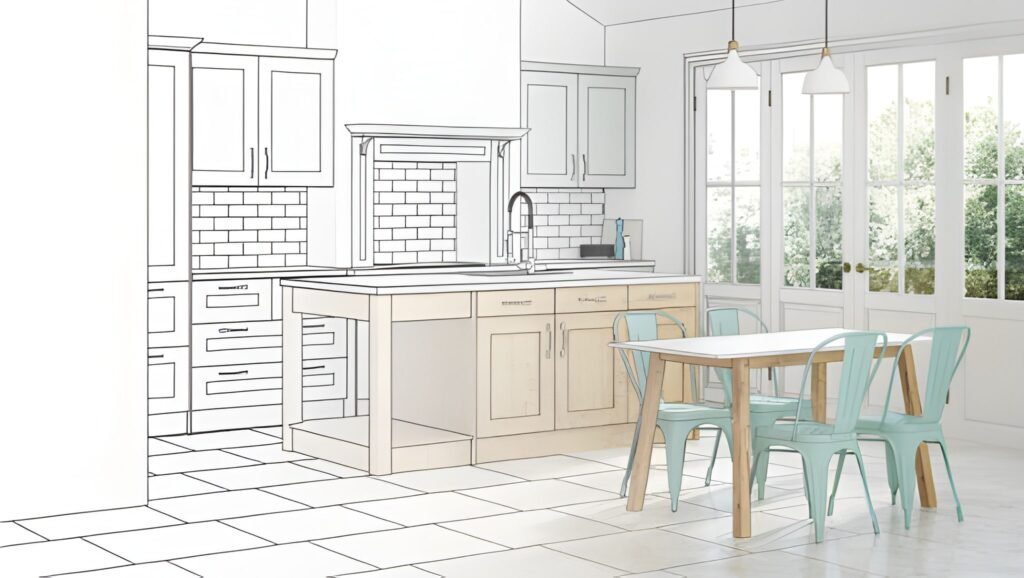
With your objective and budget in mind, assess your property’s potential. Is the layout amenable to the changes you want? Are there obvious structural constraints? This is the stage for preliminary research. Collect images of designs you like, note materials that appeal to you, and begin to understand the typical costs associated with your goals. This research will form the basis of your brief to professionals.
Step 3: Develop a Detailed Brief and Engage an Architect/Designer
A vague desire for “an open-plan kitchen” is insufficient. Transform your ideas into a detailed project brief. This document should outline room-by-room requirements, desired spatial relationships, material preferences, and performance goals (e.g., specific EPC target).
Engage an architect or architectural designer. Their expertise is not just in drawing plans, but in solving spatial problems, enhancing light, and adding value you may not have considered. They will translate your brief into a coherent design concept and, crucially, prepare the technical drawings required for the next steps.
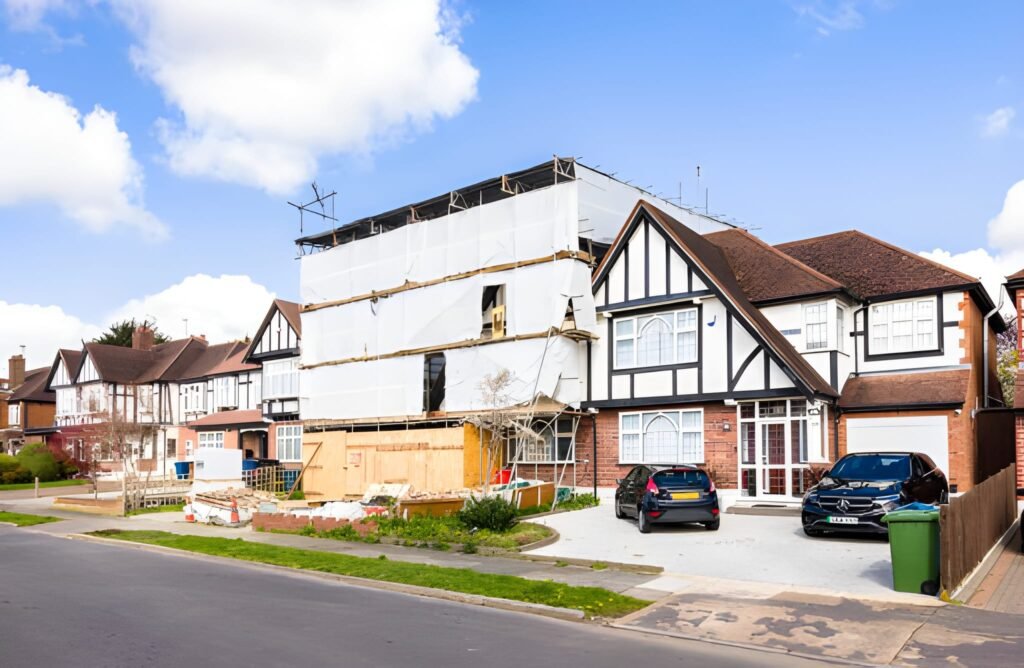
Step 4: Navigate the Planning and Regulatory Landscape
Your designer will advise on the required approvals. This is a two-track process:
- Planning Permission: Determine if your project falls under Permitted Development rights or requires a full application. This hinges on the scale, location, and nature of the work.
- Building Regulations: Virtually all structural renovation work requires Building Control approval to ensure it is safe, accessible, and energy-efficient.
Do not proceed without the necessary consents. Retrospective approval is difficult, expensive, and can result in enforcement action.
Step 5: Obtain Detailed, Itemised Quotations from Contractors
With approved drawings in hand, solicit at least three detailed, fixed-price quotations from reputable contractors. Do not accept a single global figure. The quotation must be itemised, specifying:
- Quality and quantity of materials.
- A clear breakdown of labour costs.
- A project timeline with key milestones.
- Payment schedule linked to milestones.
Scrutinise these quotes. The cheapest option is often the most expensive in the long run due to hidden costs and poor workmanship.
Step 6: Finalise Your Team and Sign a Robust Contract
Select your contractor based on their quote, reputation, and your rapport with them. Before any work begins, sign a contract. The Joint Contracts Tribunal (JCT) Home Owner contract is a standard and excellent choice for this. It legally defines the scope, cost, timeline, and procedures for handling variations and disputes. This document is your primary protection.
Step 7: Prepare the Site and Establish Communication Protocols
Prepare for disruption. Clear the work areas, arrange for secure storage of belongings, and discuss access with your contractor. Establish a single point of contact—either the site foreman or the project manager—to avoid miscommunication. Agree on a schedule for weekly progress meetings to review the work, address concerns, and confirm the plan for the coming week.
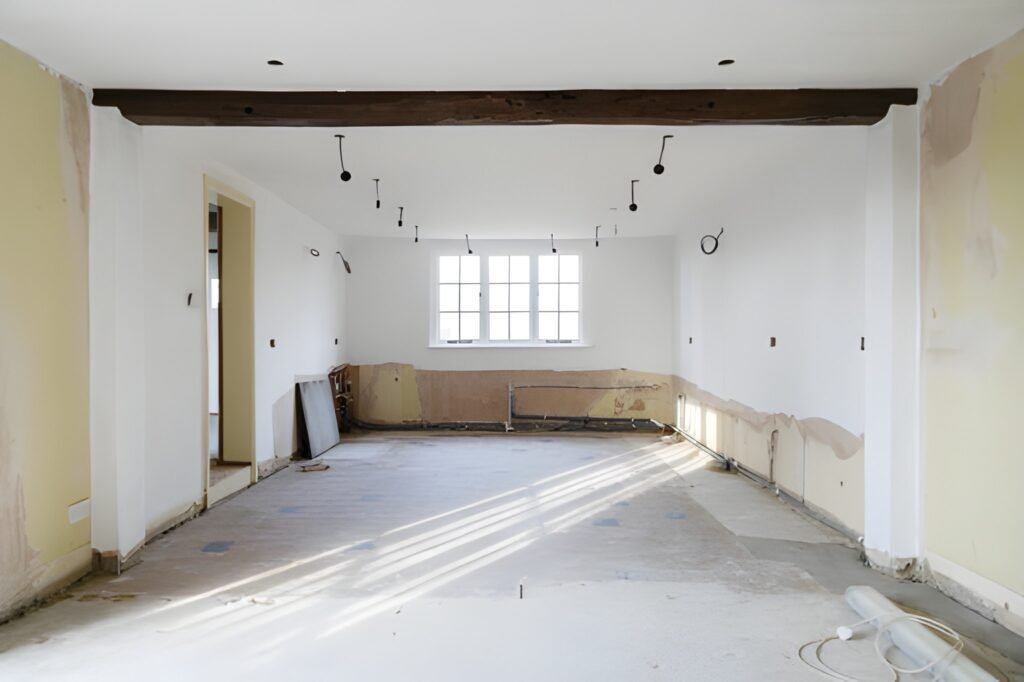
Step 8: The Phased Execution of Work
The construction phase must follow a logical sequence. The core path is:
- Strip-Out and Demolition: Removing all old fixtures, fittings, and any structural elements as per the drawings.
- Structural Work: Building new walls, installing steel beams, and making fundamental changes to the shell.
- First Fix: The installation of all hidden services—rewiring, new plumbing, heating pipes, and ventilation ducts within walls and floors.
- Plastering and Making Good: Closing up the walls and ceilings to create a clean canvas.
- Second Fix: Installing all visible elements—kitchen and bathroom suites, light fixtures, sockets, switches, and flooring.
- Decoration: Painting, tiling, and applying the final finishes.
Step 9: The Snagging and Final Inspection
Once the contractor declares the work complete, conduct a thorough “snagging” inspection. Create a detailed list of any defects, incomplete items, or issues with the finish. Provide this list to the contractor for rectification. Only when all snagging items are resolved to your satisfaction should you consider the project finished.
Step 10: Project Close-Out and Documentation
Settle the final account according to the contract, ensuring all invoices are correct and that the work is complete. Crucially, collect all documentation, including:
- Building Regulations Completion Certificate.
- Electrical and Gas Safety Certificates.
- Manufacturer warranties for appliances and materials.
- Operating manuals for any new systems (e.g., heating, ventilation).
This portfolio is essential for your records and will be invaluable for future sales or further work.
Following these ten steps will not eliminate all stress, but it will replace chaos with control. It transforms a renovation from a reactive series of crises into a proactive, managed project. This disciplined approach is the difference between a process you endure and one you command, culminating in a final result that is both financially sound and a genuine reflection of your initial vision.