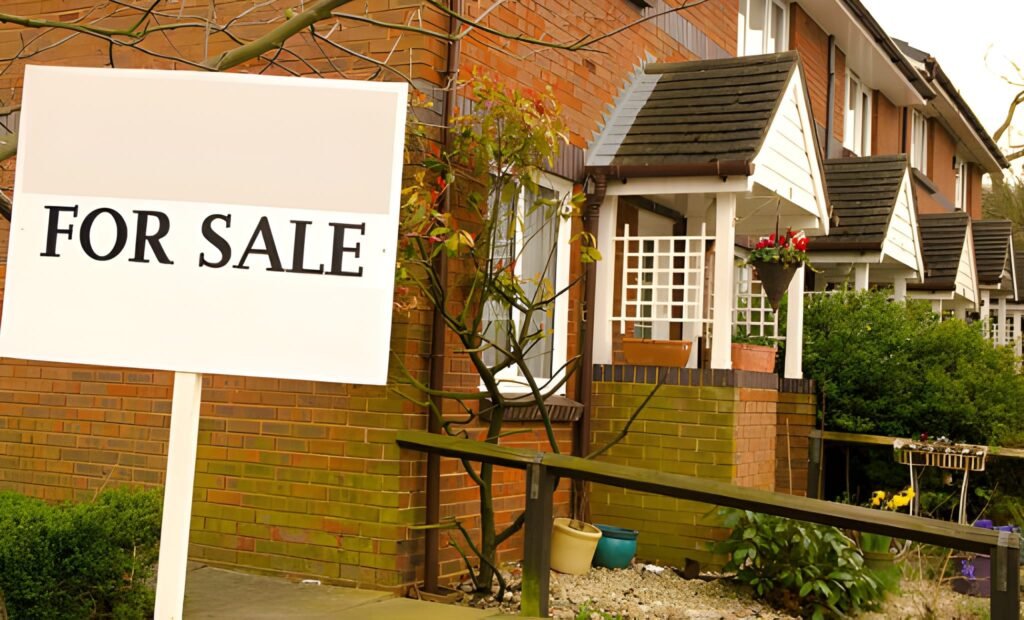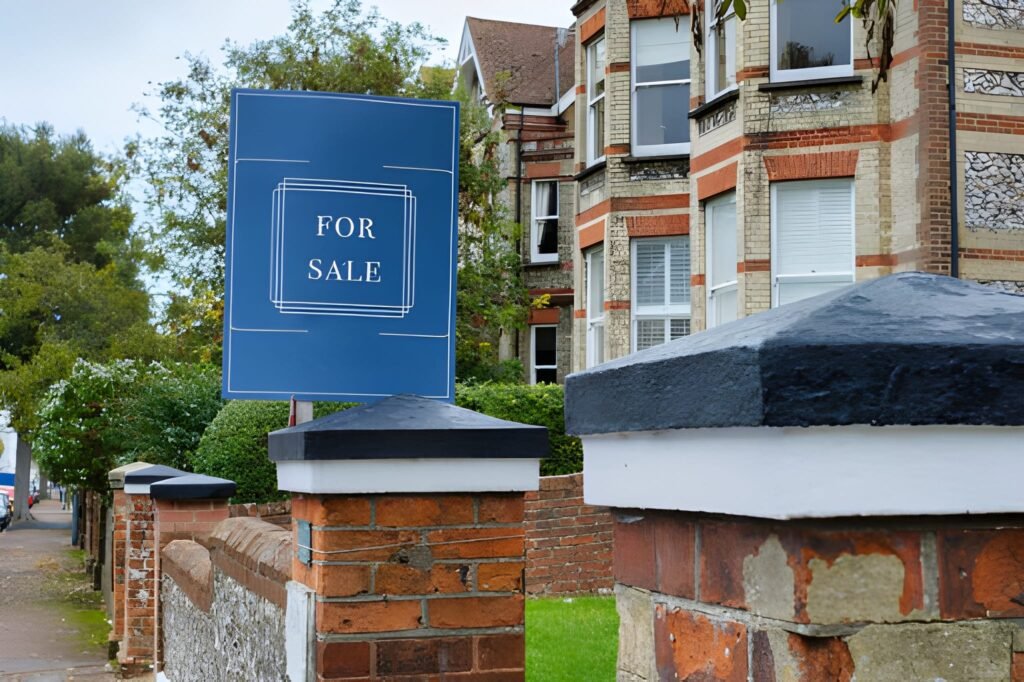
Selling a home is a significant financial and emotional undertaking. In the UK property market, success is not merely a product of chance; it is the result of meticulous preparation, strategic pricing, and effective execution. This guide provides a calm, comprehensive roadmap for navigating the process, from the initial decision to sell to the moment you hand over the keys. It focuses on the practical steps that maximise your property’s appeal and ensure a smooth, efficient sale.
Phase 1: Preparation and Strategy – The Foundation of a Successful Sale
Before you contact an estate agent, the work begins in your own home. This phase is about presenting an asset, not just a lived-in house.
1. Objective Analysis and Decluttering
Begin by viewing your property through the critical eyes of a potential buyer. Walk through each room and note any minor repairs—dripping taps, scuffed paintwork, cracked tiles. These small issues can create a perception of poor maintenance.
The most powerful and cost-effective step is to declutter and depersonalise. Remove excess furniture to make rooms feel larger. Clear surfaces, tidy bookshelves, and organise cupboards. Crucially, put away personal photographs, trophies, and religious items. Buyers need to be able to visualise their own lives in the space, not feel like guests in yours.
2. Maximising Kerb Appeal and Presentation
The first impression is formed before a buyer steps inside. Ensure your front garden is tidy, the path is clear, and the front door is clean and freshly painted if necessary. A new welcome mat and a potted plant can work wonders.
Inside, focus on light, space, and scent. Open all curtains and blinds to maximise natural light. Ensure every bulb works and use higher wattage bulbs in darker spaces. Consider a neutral, warm colour palette if repainting is needed. Before viewings, avoid cooking strong-smelling foods and instead, consider brewing coffee or baking bread. A clean, bright, and neutrally scented home feels well-cared-for and welcoming.
3. Choosing the Right Estate Agent
This is a strategic decision, not a social one. Do not automatically choose the agent who gives the highest valuation; this can be a tactic to win your instruction after which they may suggest a price reduction.
Invite three local agents to provide a market appraisal. Ask each to justify their valuation with evidence of recent sold prices for comparable properties (comparable properties). Inquire about their marketing plan: will they use professional photography, floor plans, and a virtual tour? What are their fees and contract terms? A good agent will provide a detailed report and a clear strategy, not just a number.
Phase 2: Pricing, Marketing, and Viewings – Generating Interest
With the preparation complete, the focus shifts to attracting the right buyer.
4. Setting the Right Asking Price
Pricing is a precise science. An overpriced property will stagnate on the market, becoming stale and eventually selling for less than it might have achieved with a realistic initial price. An underpriced property may sell quickly but leave money on the table.
The correct asking price is determined by the market, not your emotional attachment or financial needs. Rely on the agent’s Comparative Market Analysis (comparable properties) and your own research on portals like Rightmove and Zoopla, which show sold prices. Price competitively to attract immediate interest and potentially incite a bidding war.
5. The Marketing Campaign
High-quality marketing materials are non-negotiable. Professional photography is perhaps the single best investment you can make. Wide-angle lenses make rooms look larger and brighter. A floor plan is essential, and a virtual tour can significantly increase engagement from out-of-area buyers.
Your property should be listed on all major portals (Rightmove, Zoopla, and OnTheMarket). The listing description should be descriptive and focus on benefits, not just features. For example, instead of “garden,” say “south-facing garden, ideal for entertaining.”
6. Conducting Effective Viewings
Work with your agent to schedule viewings at times when the property looks its best, typically in daylight hours.
For accompanied viewings (by the agent or yourself), be prepared but unobtrusive. Highlight key features briefly (“this room gets the afternoon sun”) and then allow the buyers to talk and explore. Answer questions honestly. For self-viewings (increasingly common with online agents), ensure the property is absolutely pristine and that information sheets are available.
Phase 3: Offers, Negotiation, and Conveyancing – Closing the Deal
An offer is the beginning of the next critical phase.
7. Managing and Negotiating Offers
All offers should be made in writing via the estate agent. When assessing an offer, consider the buyer’s position. A first-time buyer who is chain-free is often more valuable than a higher offer from someone in a long, fragile chain. The buyer’s financing and motivation are as important as the number.
Your agent will act as the negotiator. Be clear about your priorities—is it the highest price, the fastest completion, or the most secure buyer? A calm, dispassionate approach to negotiation yields the best results.
8. Instructing a Conveyancer
Once you have accepted an offer, you must immediately instruct a conveyancer (a solicitor or licensed conveyancer) to handle the legal work. Choose one based on recommendation and reputation, not just the lowest quote. A good conveyancer communicates clearly and progresses matters efficiently, which is vital for keeping the sale on track.
They will draft the contract, handle the transfer of funds, and answer enquiries from the buyer’s solicitor. Provide them with all relevant documentation, such as FENSA certificates for windows, boiler servicing records, and property title documents.
9. Navigating the Chain and enquiries
Most sales are part of a chain—a connected sequence of buyers and sellers. Your sale depends on your buyer’s purchase proceeding, and so on. This is the source of most delays and fall-throughs.
Your buyer’s solicitor will raise enquiries about the property. Respond to these promptly and thoroughly through your conveyancer. Delays in answering can cause frustration and risk the sale. Be transparent about any known issues with the property; discovering problems later can cause the deal to collapse.
Phase 4: Exchange and Completion – The Final Steps
The culmination of the process involves two key legal events.
10. Exchange of Contracts
This is the point of no return. Once both parties sign and exchange contracts, the deal becomes legally binding. If you pull out after exchange, you will forfeit your deposit and could be sued for damages.
At exchange, you and the buyer will agree on a completion date. You will also agree on the deposit amount (usually 10% of the purchase price) that will be transferred from the buyer’s solicitor to yours.
11. Completion Day
This is moving day. The buyer’s mortgage lender transfers the remaining funds to their solicitor, who then sends them through the chain until they reach your conveyancer.
Once your solicitor confirms they have received all the funds, they will authorise the estate agent to release the keys to the buyer. You must have vacated the property and left it in the condition agreed upon in the contract by the time of completion, which is usually by midday.
After completion, your solicitor will repay your outstanding mortgage from the sale proceeds and send you the remaining balance, minus their fees.
Selling a home requires a methodical and patient approach. By focusing on preparation, choosing the right professional partners, and understanding each step of the legal process, you can navigate the transaction with confidence. The goal is not just to sell, but to achieve a successful sale—one that proceeds smoothly to completion at a price that reflects the true value of your property.